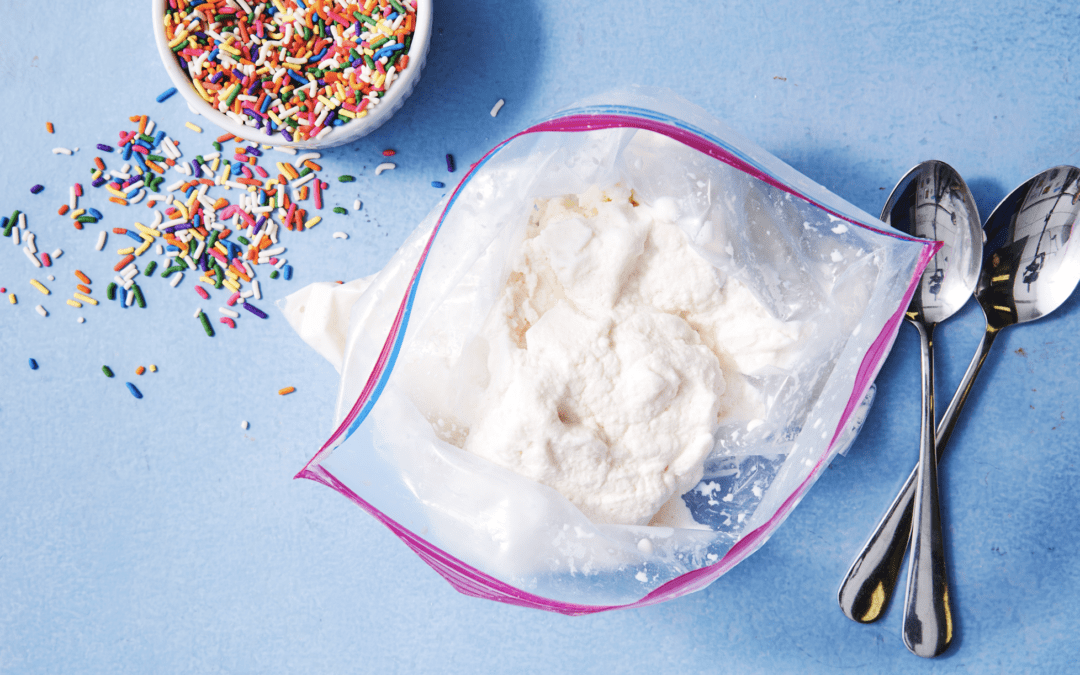
There’s plenty of science fun to be had in the kitchen, but with summer just around the corner, we have a couple of chemistry experiments that will keep your kitchen cool, no heat required! Using common household materials (with the possible exception of rock salt), you can spend some quality time in the kitchen with your kids to learn about osmosis and states of matter, all while enjoying a tasty frozen treat. Both experiments are fun for kids of all ages, but may be most engaging for children in grades K–2.
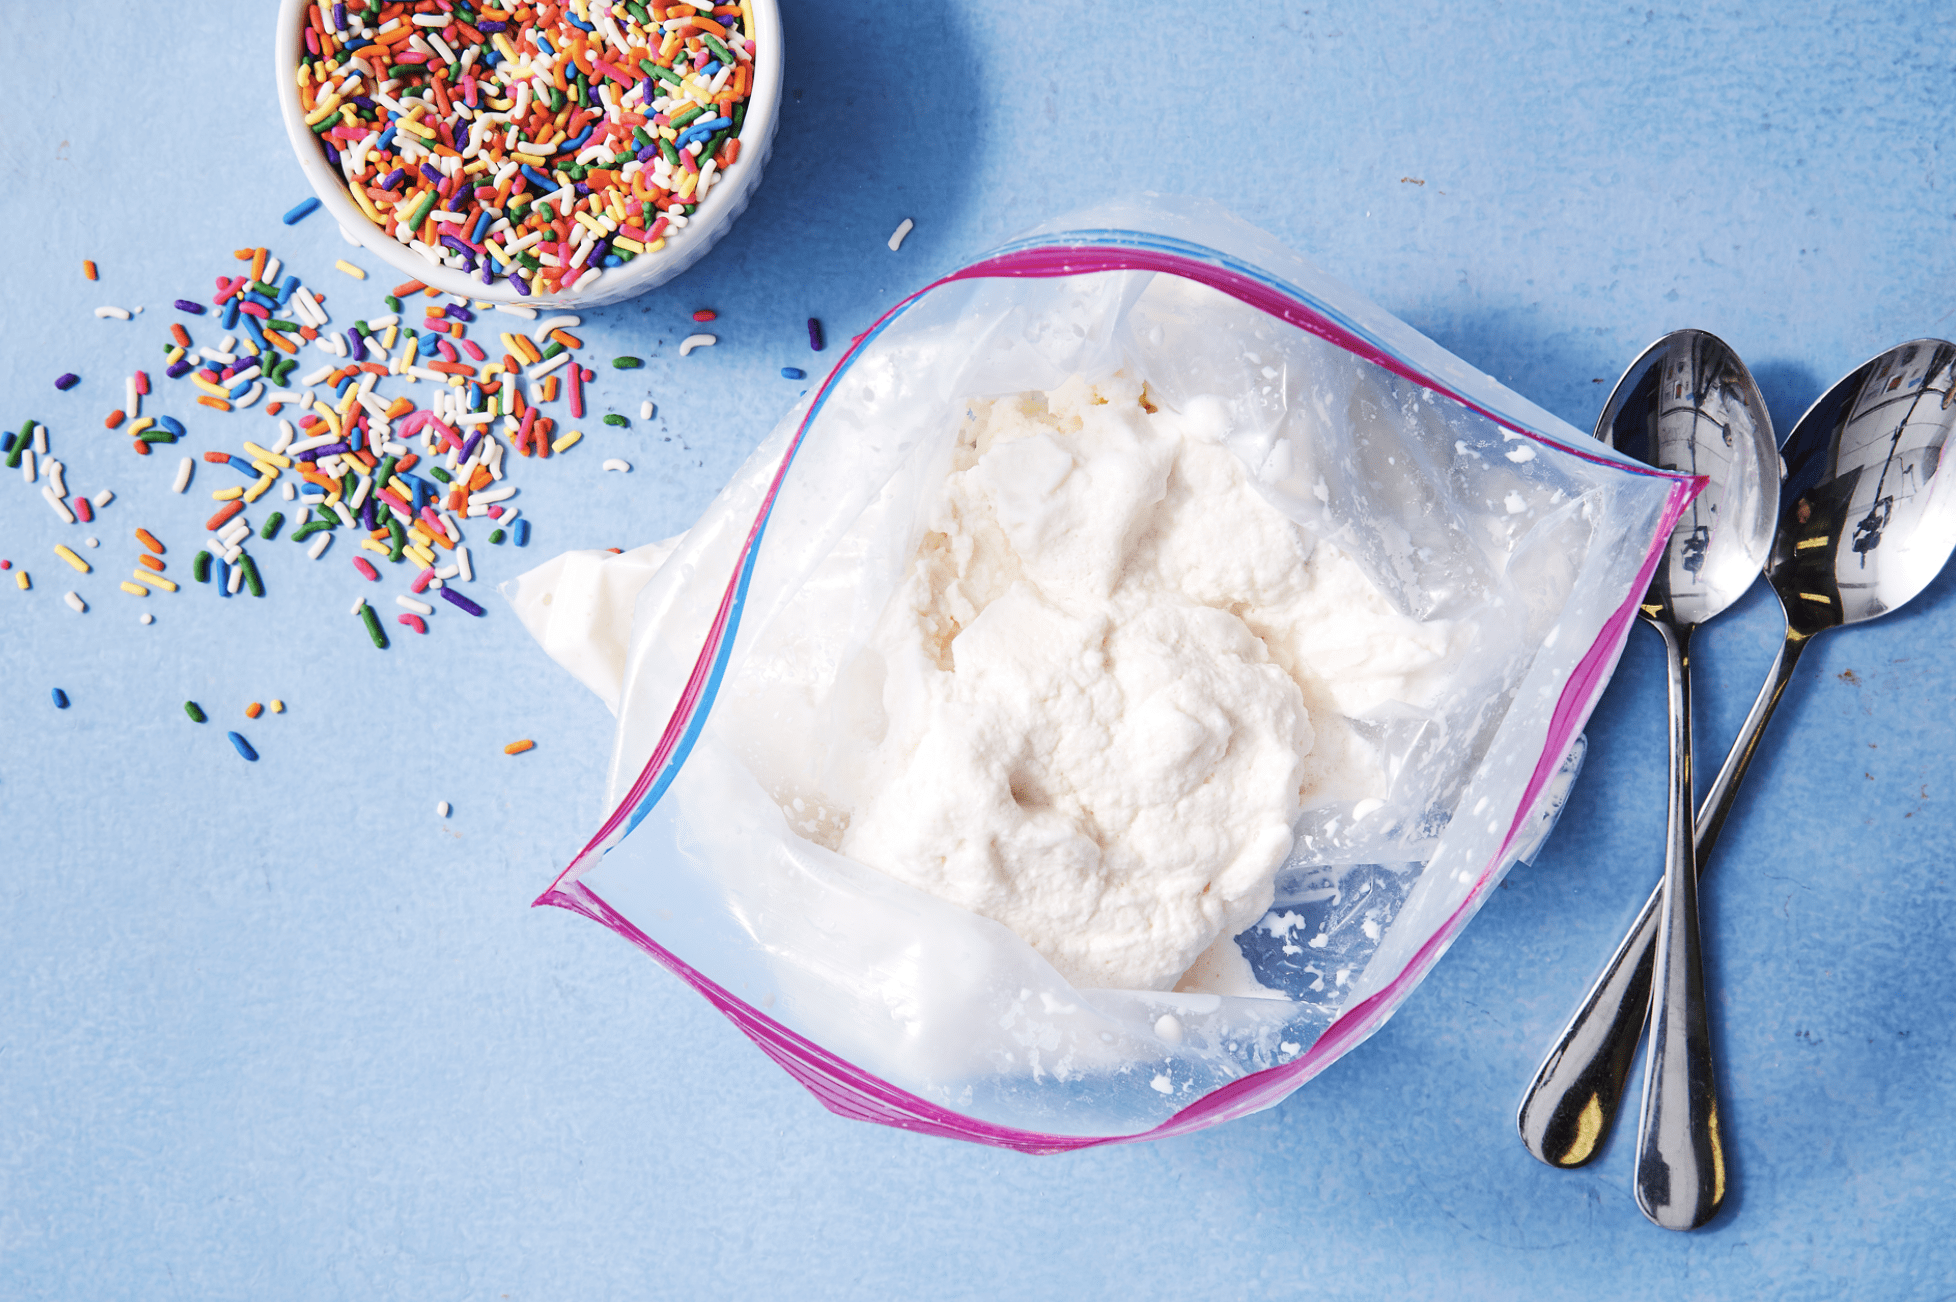
Homemade Ice Cream
You can make single servings of fresh ice cream on demand with just three ingredients, all while teaching kids about liquid and solid states of matter and the chemical reaction of ice and salt. Just mix and shake. Be warned, this experiment may be a workout!
What You’ll Need
- Measuring spoons and measuring cup
- Small (pint- or quart-size) and large (gallon-size) zip-top bags (Note: you’ll need 2 small and 1 large bag for each batch of ice cream)
- Oven mitts or dish towel
- Timer
- Ice cubes (about 4 cups for each batch)
- Ice cream salt or rock salt (Note: Rock salt is not for consumption. See Variations section below for an alternative.)
- Half-and-half, milk, or heavy whipping cream (Note: non dairy milks work too, but higher fat percentage is best)
- Sugar
- Vanilla extract or other flavoring
- Mix-ins such as nuts, candies, chocolate chips (optional)
- Paper and pencil for notes
Experiment
- In a small zip-lop bag add in ½ cup half-and-half, milk, or cream, 1 tablespoon of sugar and ¼ teaspoon vanilla extract or other flavoring. Seal up the bag, pressing out air as you do so.
- Place the bag in a second small zip-top bag to prevent leaks, and seal up the bag.
- In a large zip-top bag, add 4 cups of ice and ¼ cup rock salt or ice cream salt.
- Place the small sealed bag into the large bag, making sure ice surrounds the small bag.
- Observe and write down the state of matter of the ice cream.
- Set a timer for 5 minutes.
- Using oven mitts, gloves, or a dish towel to protect your hands, shake the bag.
- After 5 minutes, observe the texture of the ice cream. Write down your observations.
- Restart the timer. The ice cream will likely need to be shaken for 5 more minutes.
- After 5 minutes, observe the ice cream. If it’s creamy and has solidified, it’s ready to eat! If not, set the timer again and keep shaking.
- When the ice cream is solid, write down the time it took for the ice cream to be ready.
Variations
Repeat the process with an adjustment to the recipe, using fresh ice and a small clean zip-top bag for the new batch. Note the time it takes for ice cream to form with the new formula.
Sodium chloride—aka edible salt, in the form of table salt or sea salt—works too, but may require more shaking. If you have multiple types of salt and want to compare the reactions, ask kids to make a hypothesis, and then shake up a second or third batch of ice cream and compare and contrast the results. How much time did each batch take? How did the textures of the ice cream vary, if at all?
Discussion Questions
What happens when you add more or less sugar to the recipe? Does it change the texture of the ice cream? In what way? How do mix-ins change the time to freeze the liquid? (Hint: Sugar inhibits ice crystal formation with the liquid inside the bag similar to the way salt does in the large bag.)
The Science Behind Ice Cream
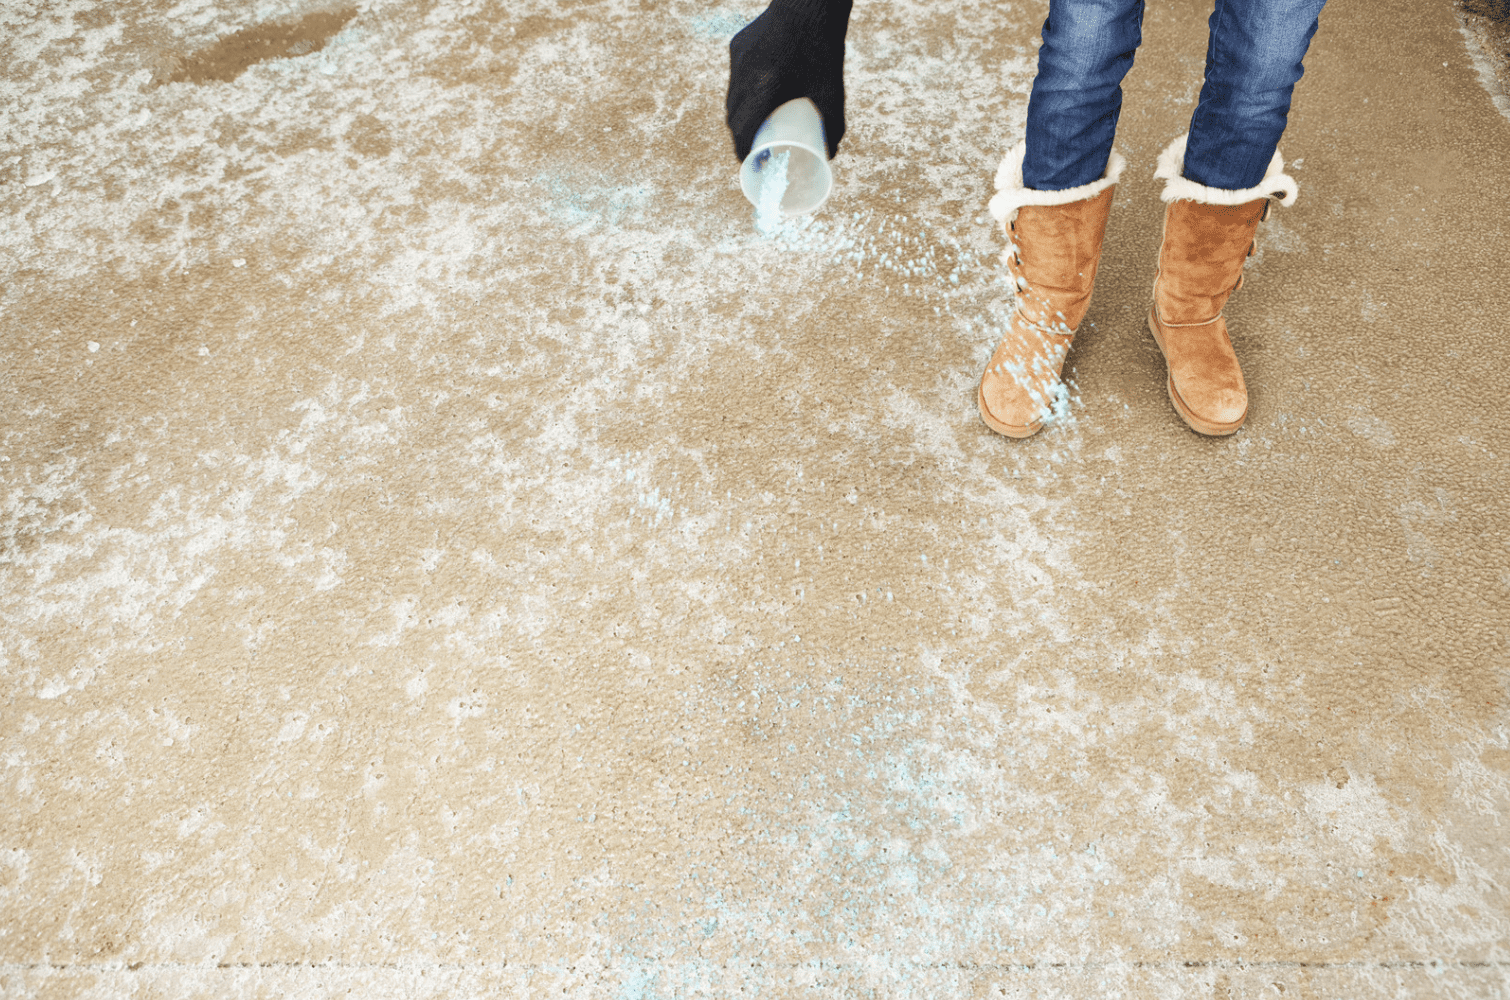
If you have ever tried to melt snow and ice on a slippery driveway or sidewalk, you know that salt is the key ingredient. But why? The freezing temperature of water is 32 degrees Fahrenheit (0 degrees Celsius). When salt meets ice, it lowers the temperature at which water freezes, called freezing point depression, keeping the ice from re-forming. As the ice melts, the molecules in the water interact with the salt, which forces them apart and doesn’t allow the water molecules to line up together to create a solid surface (1). As the ice melts, the reaction causes the air around the solution to become very cold, which allows the ice cream in the small bag to form. This process changes the state of matter from a solid to a liquid.
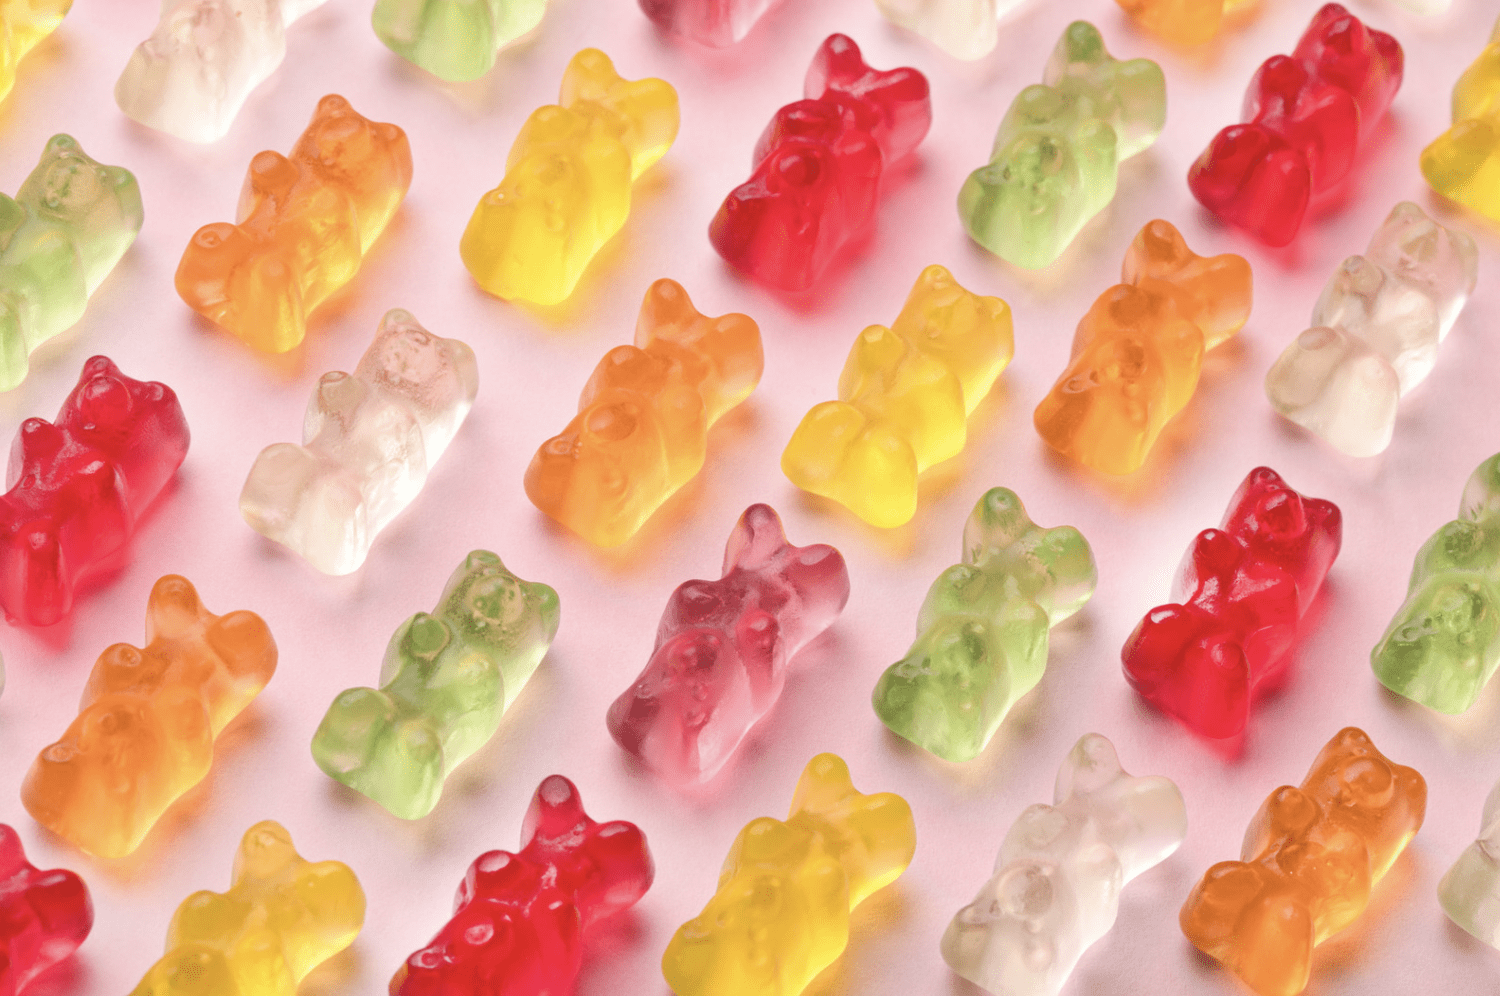
Gummy Candy Osmosis Experiment
Sugar, a water soluble substance, plays a role in many kitchen science experiments (see our Valentine’s Day post). While sugar usually dissolves in water, here, when combined with the gelatin in store-bought gummy candies, it manages to hold its shape when placed into different solutions. Read on to learn why. Unlike the ice cream, the gummies used in this experiment aren’t edible, so be sure to reserve some for snacking before you get started.
What You’ll Need
- Gummy bears (or other gelatin-based gummy candy shape; gummy candies made without gelatin may not produce the same results)
- Glass containers or small bowls for each liquid/solution (wide-mouth mason jars are ideal)
- Covers for containers to prevent contamination
- Tray or sided baking sheet
- Salt
- Sugar
- Baking soda
- Vinegar
- Ruler
- Calculator
- Kitchen scale (optional)
- Dish towel or paper towels
- Clock or timer
- Paper and pencil
Experiment
- Label each container, using one for each solution you’d like to try (plain water, salt, sugar, baking soda, and vinegar).
- Fill all but the vinegar glass with a ½ cup water and add 1 tablespoon of each ingredient to the labeled container.
- Add ½ cup vinegar to the last container.
- Place all the containers on the tray or baking sheet.
- Choose a gummy bear for each solution, reserving one for the control, which will stay dry. (Using a different color for each substance will help you tell them apart later.)
- Measure each gummy bear and record its length, width, height, and weight on paper. If not using a scale, skip the weight step.
- Note the time and date of the start of your experiment on paper and drop the gummy bear into its container. Put the control gummy bear aside, or place in an empty, dry container. Make a hypothesis about what will happen to the gummy bears in each solution. Cover each container to prevent evaporation.
- Be sure to keep the gummy bear solutions out of reach of small children or pets, and set aside for 12 hours.
- After 12 hours, use a fork or slotted spoon to remove the gummy bears, one at a time, from each glass, making sure to keep track of which bear was removed from which solution. Record the time and date.
- Measure and weigh each candy, and record the results.
- Observe the changes in the color, texture, size and weight of each candy.
- Put the experiment aside for another 24 hours, and then repeat steps 9–11 again.
- In 48 hours, repeat steps 9–11.
Discussion Questions
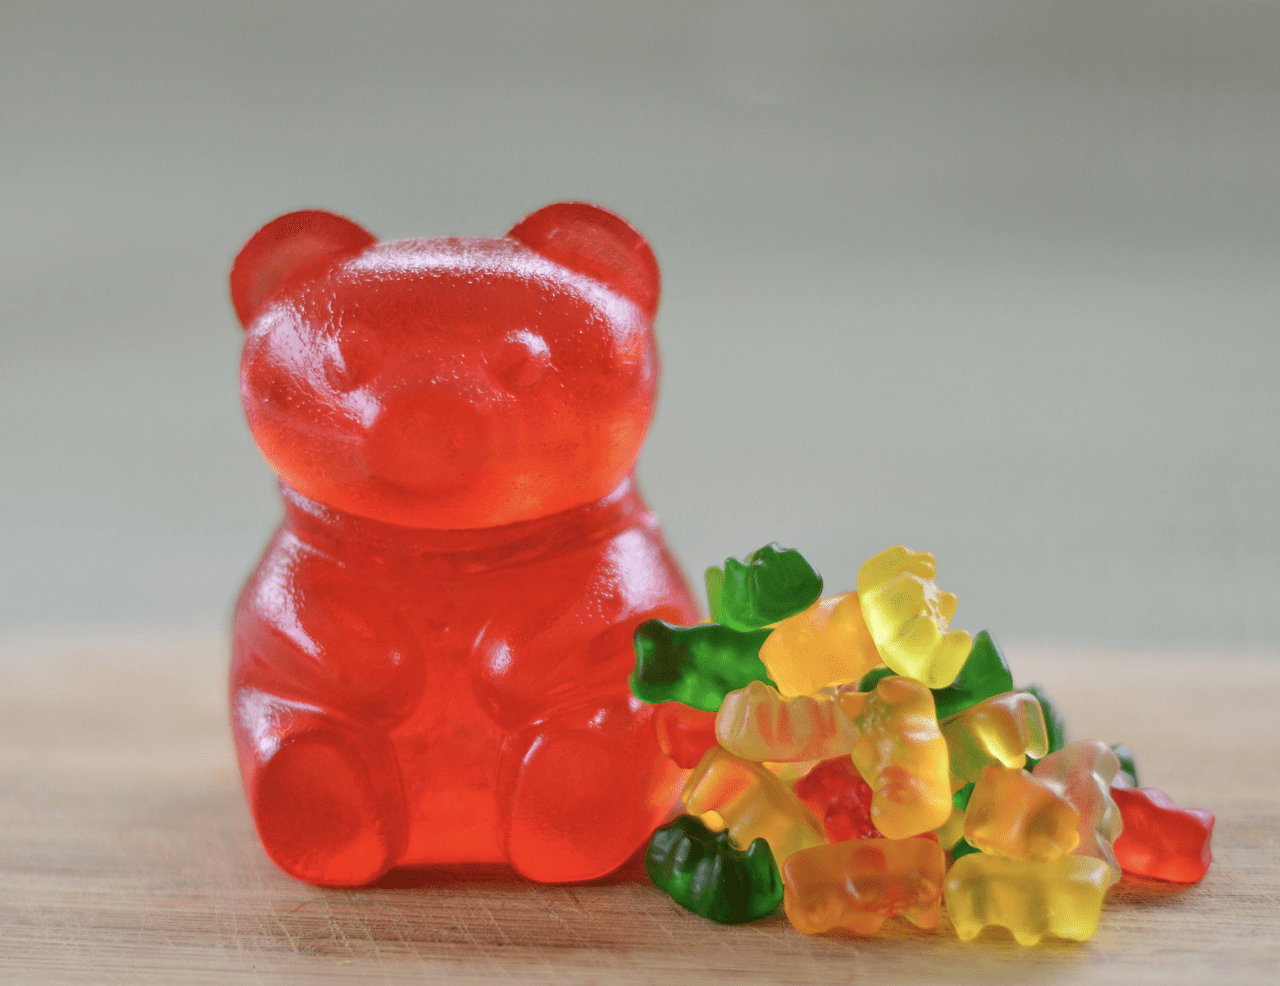
What happened to the gummy bears? Which solution made the candy the largest? Why do you think that is? Which gummy bear fell apart? Why?
The Science of Gummy Candy Osmosis
When gummy candy is made, the mixture is heated, and water boils out of the sugar and gelatin, leaving a dry, chewy combination of gelatin and sugar. This experiment teaches kids about osmosis, or how water molecules penetrate a membrane (in this case, the exterior of the gummy bear) into a solute, a dissolved substance, and keep its concentration about equal on both sides of the membrane.
When water penetrates the gummy bear’s “skin,” or membrane, the skin keeps the larger molecules, in this case sugar, from escaping and dissolving into the water in the bowl. Because of osmosis, water continues to be absorbed by the gummy to balance the concentration of water molecules outside and inside the gummy bear, causing the candy to expand.
The salt water gummy will eventually shrink because the salt creates a more concentrated solution (less water) and causes water to leave the gummy.
The vinegar, an acid, eventually breaks down the protein in the gelatin, causing the gummy candy in that container to dissolve and eventually to fall apart (2).
Experimenting in the kitchen can yield some fun and delicious results! You may want to explore baking bread and gluten development, or plan a baking activity that shows kids how other leavening agents like eggs, baking powder, and baking soda react with other ingredients in a recipe to create expansion.
If these ideas have whetted your kids’ appetite for science, enroll them in one of our programs to help sprout their curiosity and engage them outside the classroom.
- Cydney Grannan, “Why Does Salt Melt Ice?,” Encyclopaedia Britannica, accessed April 22, 2024, https://www.britannica.com/story/why-does-salt-melt-ice.
- Harvard T. H. Chan School of Public Health, “Vinegar,” the Nutrition Source, last reviewed October 2019, https://www.hsph.harvard.edu/nutritionsource/food-features/vinegar/

