What Is Sensory Play?
Sensory play is the practice of incorporating the five senses into play activities. Nearly anything can become a sensory play activity. Listening to music (sound) and looking at picture books (sight) are just two examples of basic, passive sensory play activities that engage the senses. But by incorporating other objects and turning them into simple toys for sensory activities, you can create an interactive experience for kids to experiment and play.
What Are the Benefits of Sensory Play?
The benefits of sensory play for young children as they grow are many. Sensory play helps kids develop language skills as well as gross and fine motor skills, and it has cognitive benefits. And when kids participate in sensory play with other children, such as siblings, friends, or classmates, it can also help them learn to interact with others. With so many benefits for kids, sensory play is an easy activity you can incorporate into any child’s day with just a few common household items.

DIY Sensory Play at Home with a Sensory Bin
Sensory play is likely already a part of your child’s day, whether they are splashing in the tub at bath time or playing with their food. But if you would like more inspiration, here are some ideas for how to keep your kids experimenting with their senses during free play. With a little creativity, you can build a sensory bin—which engages kids’ sense of touch, especially—and transform simple household objects into a world of sensory exploration for kids that is both inexpensive and easy to do. Try a dry bin for kids who don’t like to get as messy, or take it outside (or onto a tarp or sheet) with our wet bin suggestions! (Tip: We recommend avoiding glitter. Once it’s in your home, it’s hard to get it out, no matter how much you sweep, scrub, or vacuum. That tenacity also means traditional glitter, a microplastic, and even so-called biodegradable glitter can invade our waterways and wreak havoc on aquatic life.)
How to Build a Basic Wet or Dry Sensory Bin
What You’ll Need:
- Washable container (preferably lidded):
- Tub, bin, or a large bucket
- Filler:
- For dry bin (choose one or more):
- Dry pasta (tricolor veggie pasta is a fun choice)
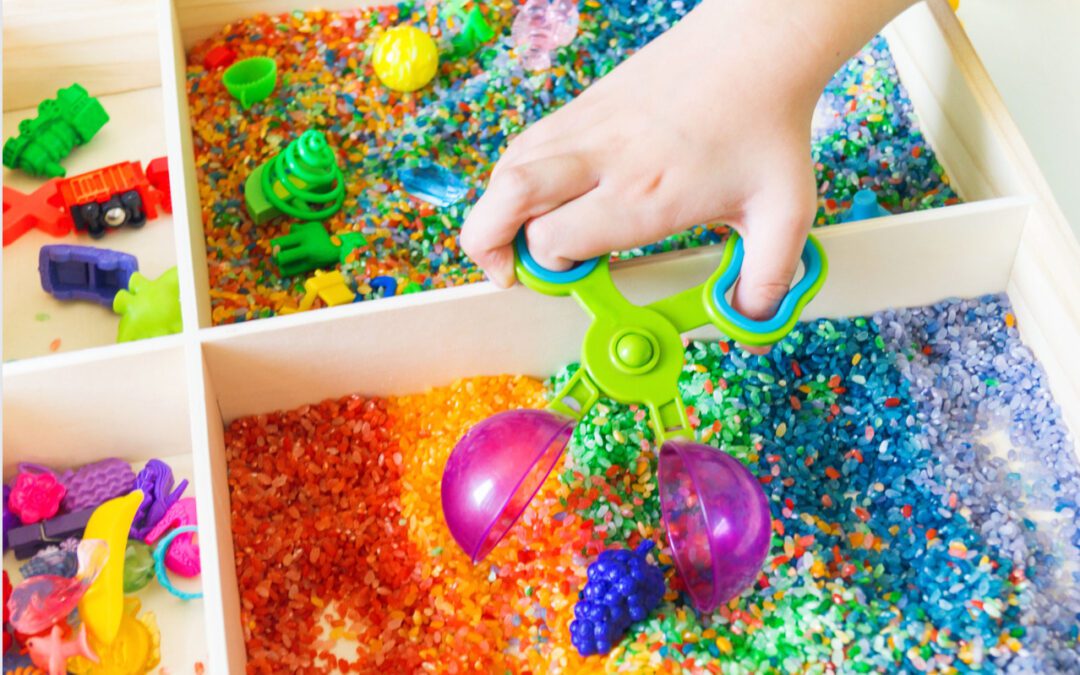
- Dry rice or beans
- Sand
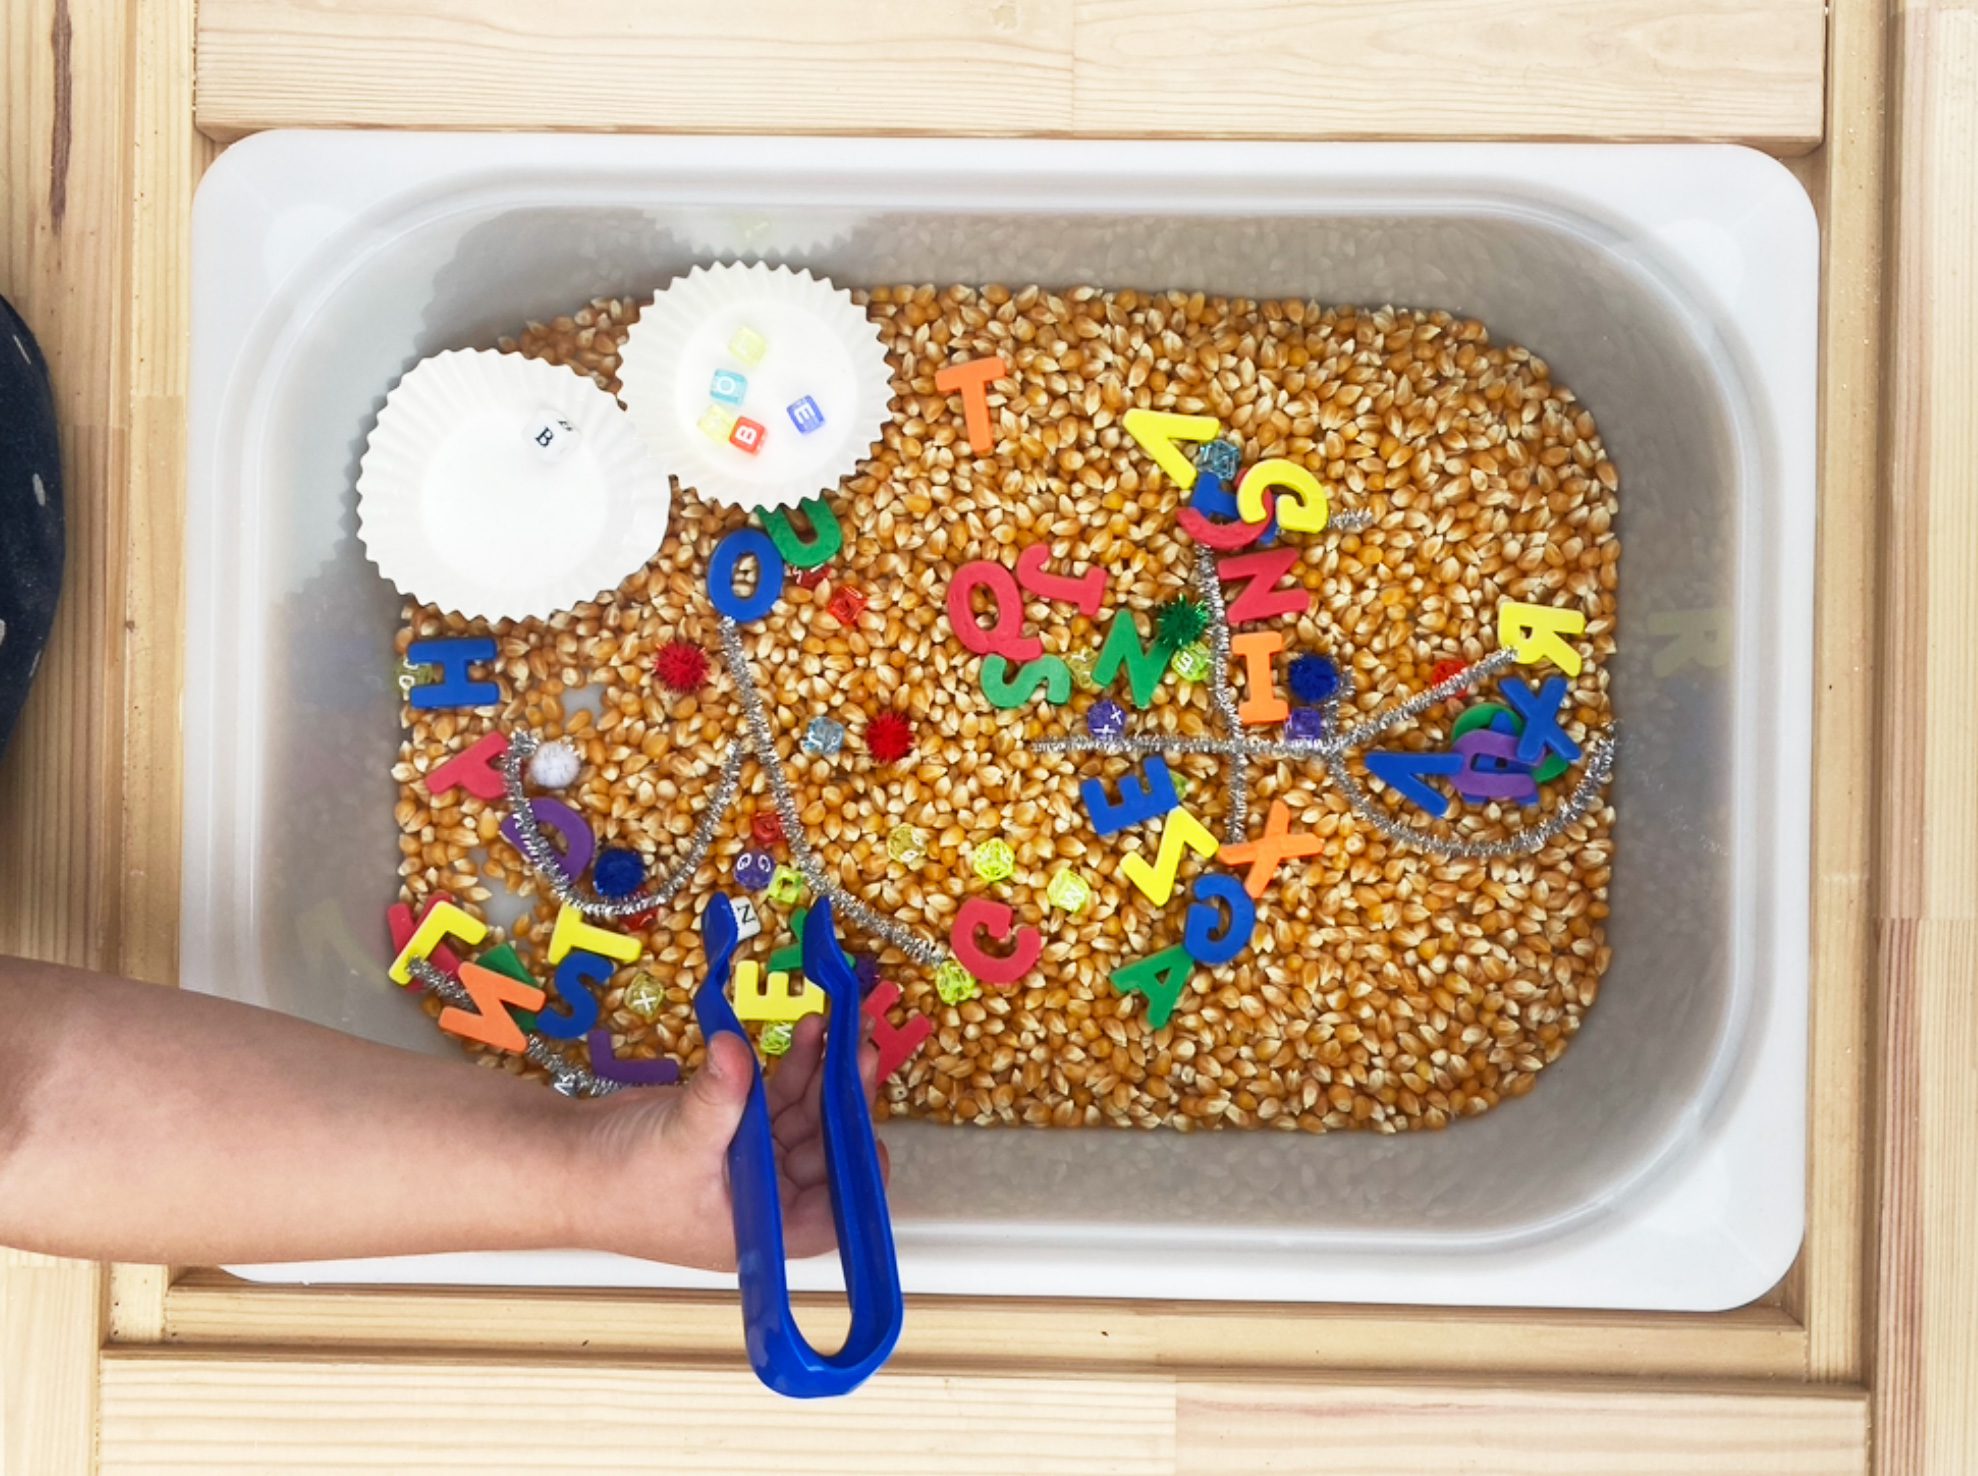
- Popcorn kernels
- Cotton balls
- Crinkled or shredded paper (such as for filling shipping boxes or baskets) or raffia
- Marbles
- For wet bin (choose one or more):
- Cooked pasta (tricolor veggie pasta is a fun choice)
- Sand
- Water
- Cooked grains (oatmeal, rice) or beans
- Jell-O
- For dry bin (choose one or more):
- Sensory toys:
- Small dump trucks
- Sand/beach toys, such as small bucket or shovel
- Cups
- Scoops
- Wide-tooth comb or small rake
Simply fill a bin with one or more fillers, add toys, and let kids play! Remember to choose materials that are suitable for your child’s age, and exercise extra caution with kids who may be tempted to put objects in their mouths, noses, or ears. If certain textures are “icky” to a child, choose other objects. Young children can be sensitive to certain textures and they may need some time to warm up to a particular texture to engage their sense of touch.

Upgrade Your Sensory Bin with a STEM-Based Theme
A basic sensory bin is a great way to add a little structure to sensory play at home, but adding a theme can enhance your child’s experience, incorporate new ideas, and encourage interactivity. It can also double as a STEM-based learning tool.
- Outer Space / the Solar System
- Filler: For an out-of-this-world sensory experience, use decorative black rocks or glass pebbles and some decorative sand for filler.
- Toys:
- Planets and moons: You can buy ready-made kits of 3D planets, or make your own in 2D by printing out photos of planets and their moons from NASA’s photo library of photos and mounting them to paperboard.
- Stars (glow-in-the-dark stars can be fun!)
- Astronaut figures for moon exploration
- Guided play ideas:
- Have kids “explore” the terrain. Using photos of the moon’s surface, ask them to re-create the surface. What might it feel like?
- Using diagrams of the solar system, ask kids to set up the objects in the bin to match it. Which planets are which?
- Discuss gravity. Ask kids to drop objects onto the “space” surface. Explain that gravity on Earth is not the same on other planets, that objects do not “drop” at the same rate, and some float. Use this opportunity to introduce kids to picture books about astronauts. (Find some of our favorites here.)
- Dinosaurs / Paleontology
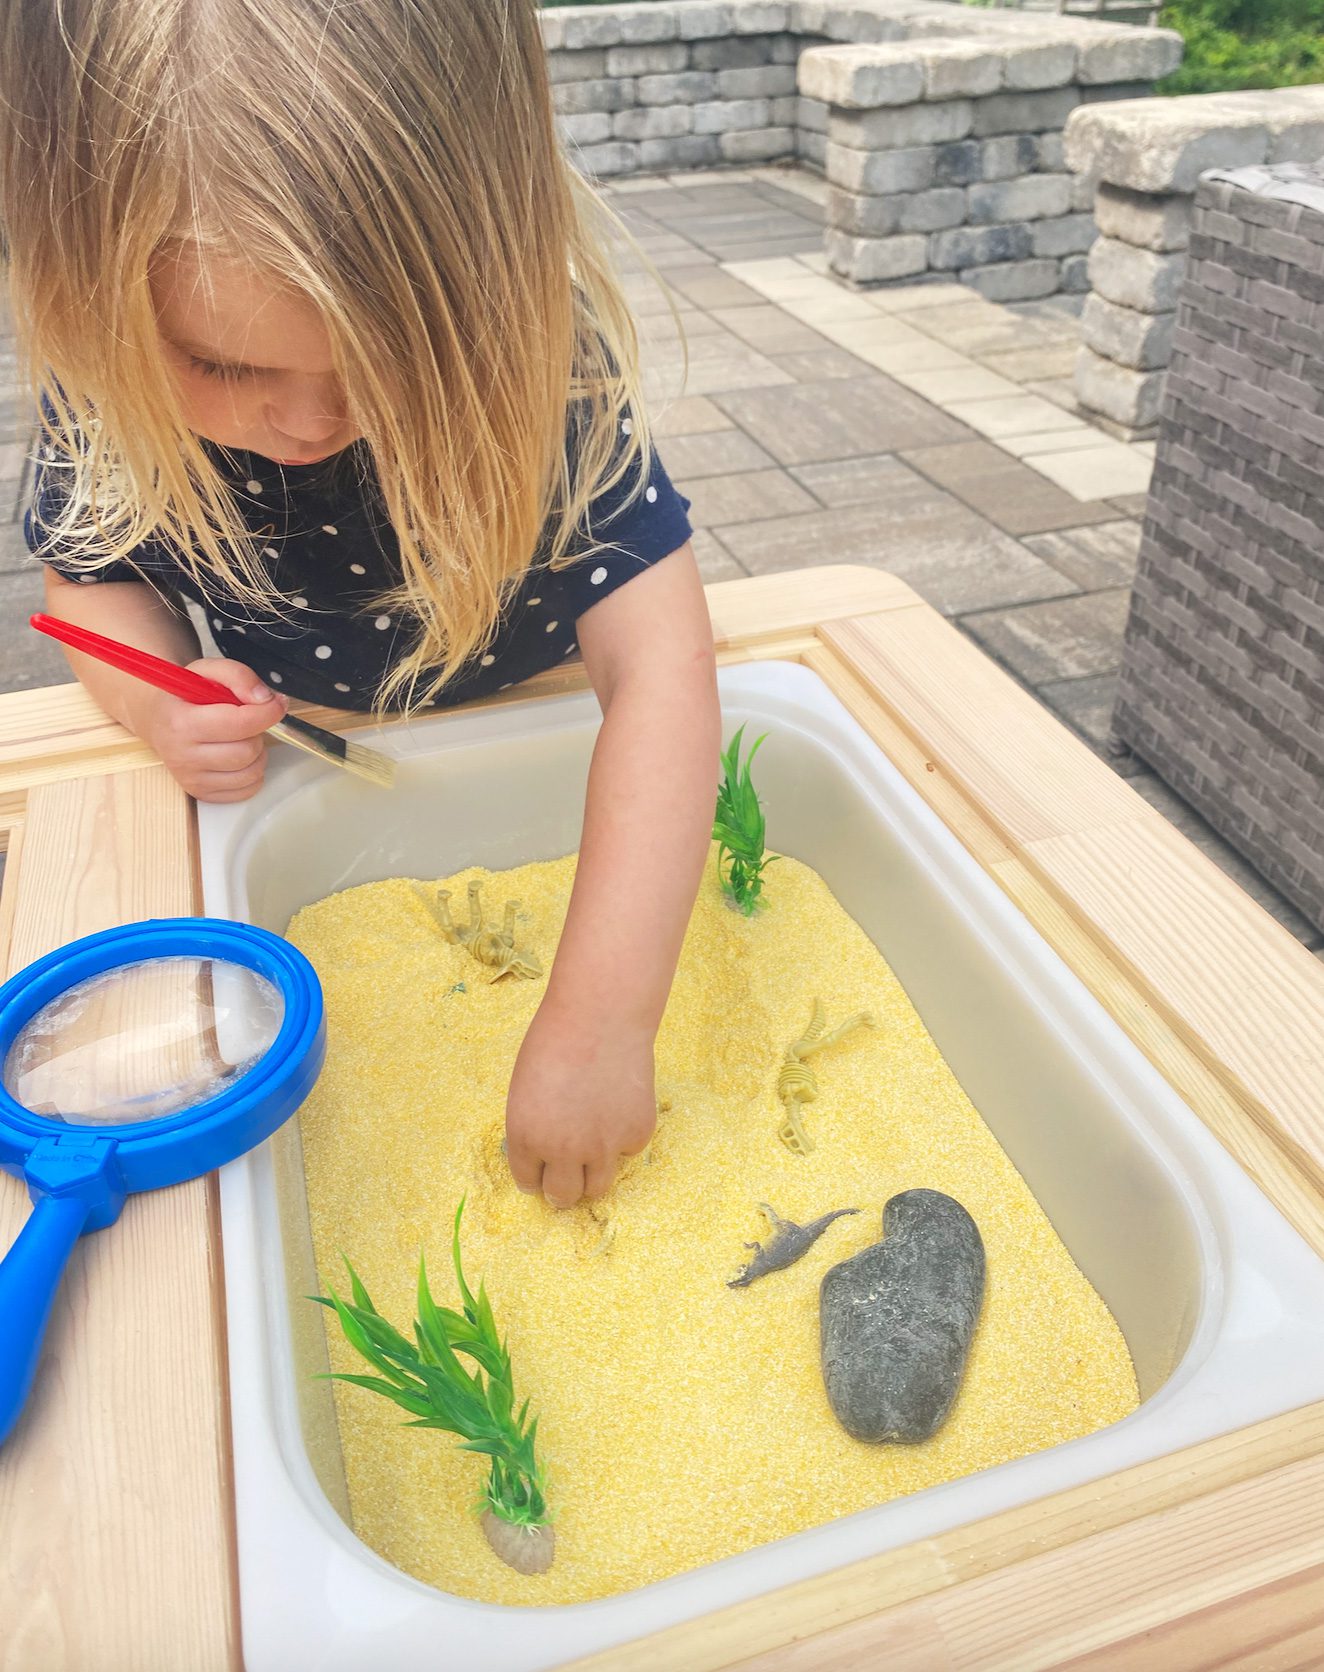
- Filler: Basic sand works well for dinosaur digging. Add some larger rocks for variety and to create additional challenges for the “dig.”
- Toys:
- “Excavation” tools: In addition to digging tools from the basic bin, add a brush for “dusting” fossils and dinos. Whisks can be fun to move the sand in new ways and to build hand-eye coordination.
- Plastic dinosaurs
- Dinosaur “fossils”: Make the dough with 1 cup table salt, ½ cup flour, and ½ cup water. Mix and knead until smooth. Use a drinking glass or a round cookie cutter or jar lid to cut the “fossils,” and use plastic dinosaur toys to make impressions in the dough. Bake at 200 degrees Fahrenheit for 35–40 minutes, or until hard. Let them cool, and bury them in the bin.
- Guided play ideas:
- Have kids “excavate” the fossils. They can brush sand away, just as paleontologists in the field would do.
- With books for reference, ask kids to identify each dinosaur. Examine their teeth. What might they have eaten, and why?
- Plants and Gardens
- Filler: Coffee grounds or potting soil (be sure kids wash hands well after playing!)
- Toys:
- Real or artificial flowers, stems trimmed
- Seeds: Sunflower and pumpkin or dried beans are a good choice
- Small digging tools
- Watering can or cup (optional), for wet bin
- Guided play ideas:
- Have kids “plant” the seeds and water them. What would happen if the seeds were left in the bin? What do plants need to grow?
- Using books as a guide, explain the life cycle of a plant. Which cycles can they show with the sensory bin toys? What plants grow from the seeds?
For most kids, their senses of sight and sound are engaged often, and in today’s world, some may be overstimulated. Building a sensory bin is an easy way you can supplement your child’s already rich sensory world and help them engage their sense of touch and enhance body awareness.
Looking for more ways to get kids playing? Enroll your child in our one of STEMful’s toddler classes, or one of our summer camps, school break camps, or afterschool programs, to sprout their curiosity and foster a lifelong love of learning.
- “What Is Sensory Play? The Benefits for Your Child and Sensory Play Ideas,” HealthEssentials, Cleveland Clinic, March 18, 2022, https://health.clevelandclinic.org/benefits-of-sensory-play-ideas/.
- Amy Claridge, “All That Glitters Is Not Gold,” Marine Conservation Society, accessed August 7, 2023, https://www.mcsuk.org/what-you-can-do/ocean-friendly-living/reducing-your-plastic-footprint/all-that-glitters-is-not-gold/.

