Chemistry may seem too complex and abstract for younger children, but these simple experiments can help make it more concrete. Best of all, you don’t need any special equipment! These fun chemical reaction activities use only common materials you may already have at home.
What Is a Chemical Reaction?
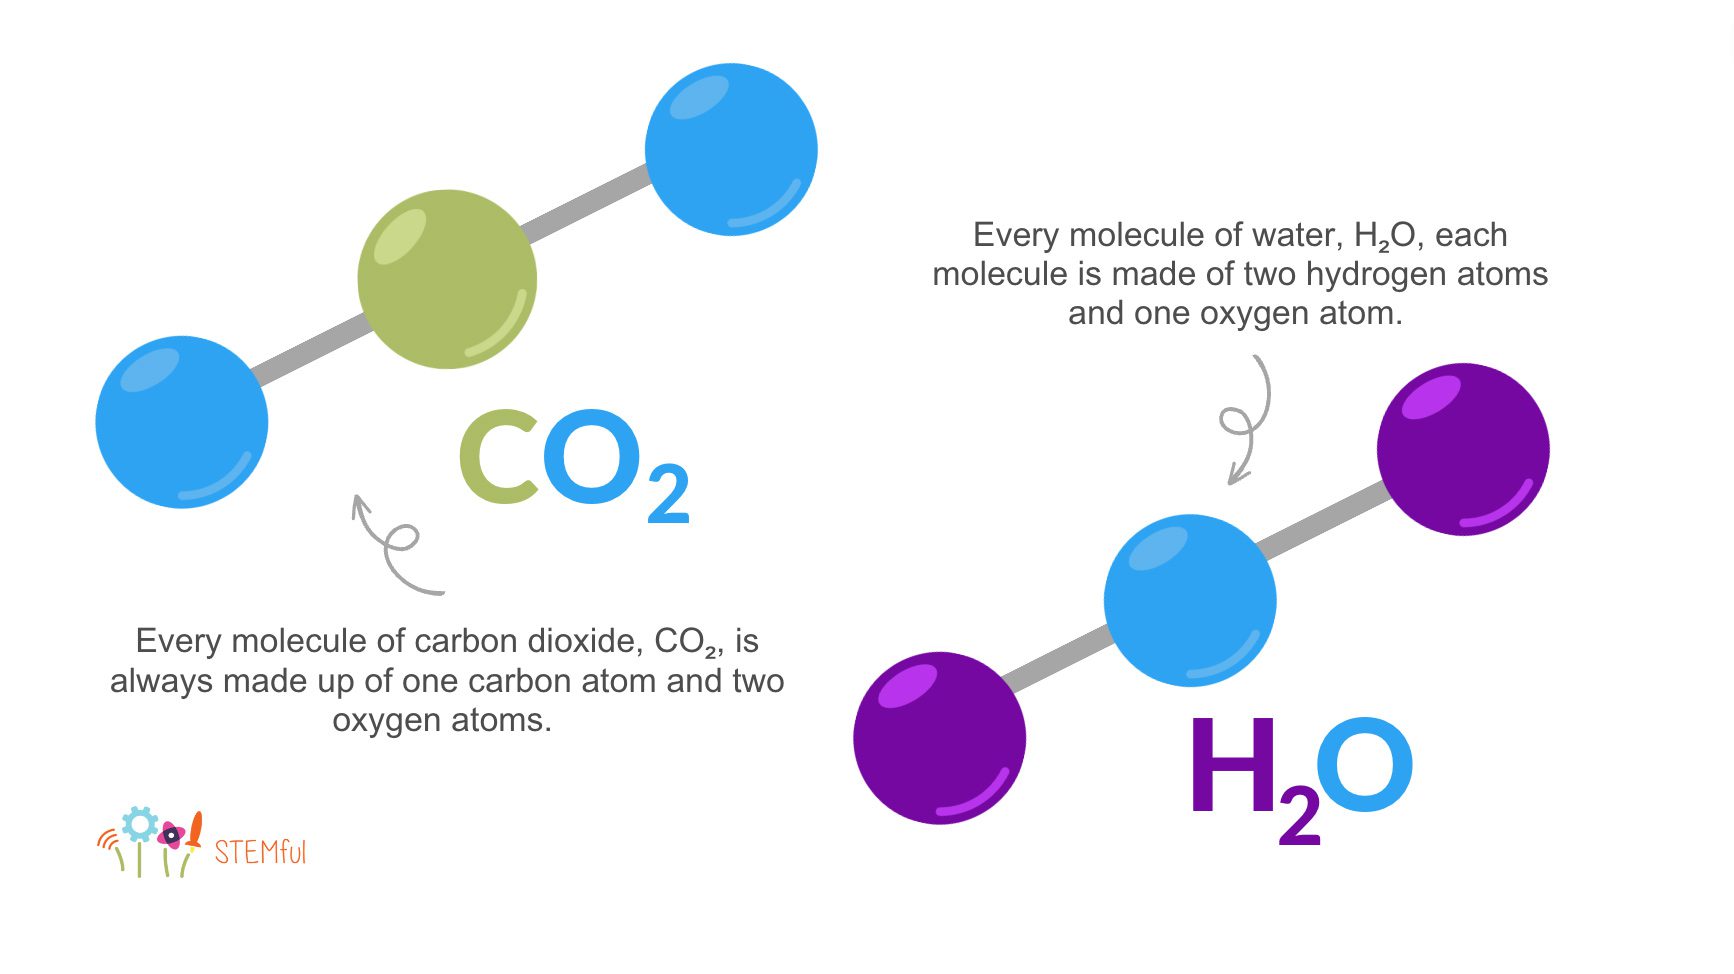
To understand chemical reactions, we first need to know their basic building blocks: chemical substances. A chemical substance is any material – liquid, gas, or solid – with a “defined chemical composition”; that is, its makeup is always the same. For example, in the air we expel, every molecule of carbon dioxide, CO2, is always made up of one carbon atom and two oxygen atoms. In another, water, H2O, each molecule is made of two hydrogen atoms and one oxygen atom.
A chemical reaction occurs when two or more of these chemical substances interact with each other and create one or more new chemical substances. On the molecular level, chemical reactions occur when these atoms are rearranged. They are different from the physical changes of the substances, because of the restructuring of the atoms. For example, when water freezes, it can be melted and refrozen again, and its chemical makeup doesn’t change. It’s still two hydrogen atoms and one oxygen atom, no matter what.
In a chemical reaction, the substances that interact with each other are called reactants, and the result of their interaction is called a product.
To tell whether a chemical reaction has occurred, we can engage our senses, primarily on sight and smell. But even sound may be an indication of a chemical change. When two substances are mixed together, watch for:
- Temperature change
- Light (or a spark or flame)
- Color change
- Odor
- Bubbling or fizzing
- Cloudiness1
Chemical Reaction Experiments
To help kids and learn about chemical reactions while engaging their senses, try one or all of these three simple experiments. (Note: These experiments require adult supervision. To model good lab hygiene for future scientists, we recommend wearing goggles and smocks.)
Before each experiment, ask:
- Which “ingredients” for the experiment might be chemicals or the source of chemical substances? Why?
- What are the physical properties of each of these? Are they a liquid, gas, or solid? What do they smell like? Look like? Describe, draw or write down their characteristics.
Fizzy Lemon (Pre-K to Grade 2)
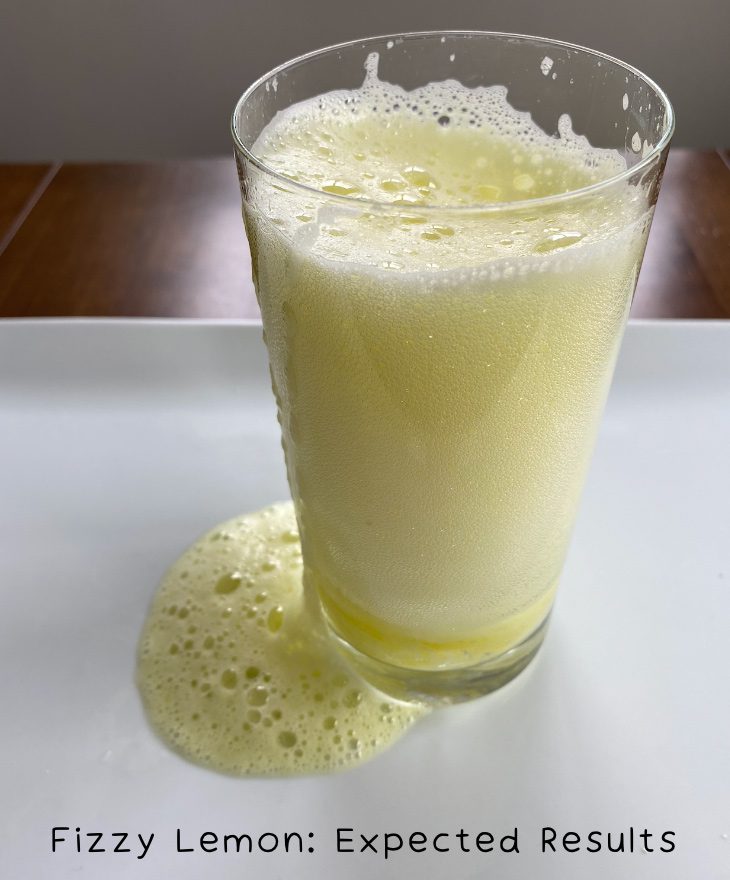
Try this fizzing lemon experiment (best done on a baking tray or large bowl to catch drips) to show kids how baking soda (a base) and lemon juice (an acid) create a bubbly, obvious chemical reaction that’s easy to see when combined with dish soap. Bonus: You can use the mixture to hand wash your dishes! Or make it more playful and add in some food coloring!
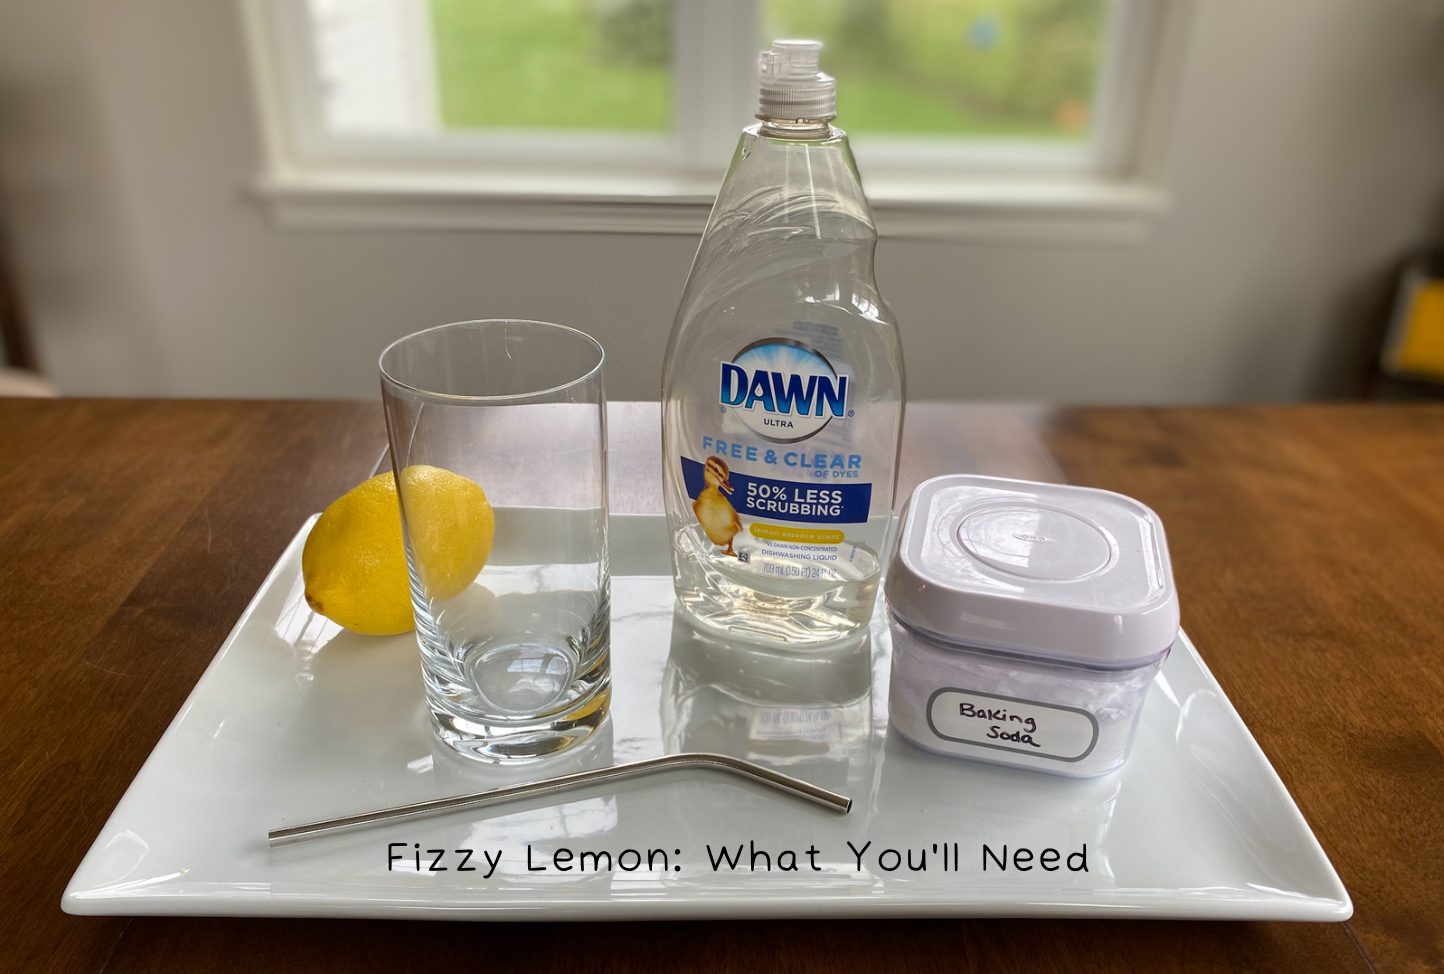
What You’ll Need:
- Narrow glass or jar
- Baking soda
- Liquid dish soap (unscented is best, but use whatever is on hand)
- Lemon, quartered, or lemon juice
- Spoon or straw (use steel, plastic, or wood, not aluminum)
Experiment:
- On a tray, add a spoonful of baking soda to the bottom of the glass.
- Add in a few drops of food coloring (if using, we chose yellow).
- Squeeze a dollop of dish soap on top of the baking soda.
- Squeeze or pour the lemon juice over the dish soap/baking soda mixture.
- Using a straw or spoon, stir the mixture. Bubbles will begin to form. Add more baking soda and lemon juice for a bigger, longer reaction.
Discussion Questions:
- What happened? Describe the chemical reaction. At which step did the reaction occur?
- Were there any changes to the physical properties of the chemicals identified at the beginning of the experiment? What were they? (Hint: the powder [solid] and lemon juice [liquid] combined to create a gas, trapped by the dish soap and eventually released as bubbles.)
- When might these chemicals interact with each other in the real world? (Hint: lemon juice and baking soda are sometimes combined in cake recipes, and the proportions affect the cake’s rise and browning.)2
Seltzer Balloon (K to Grade 4)
Similar to the Fizzy Lemon experiment, this activity shows what happens when the same two chemical substances found in antacid tablets (citric acid and baking soda), this time in a solid form, are combined with water to create a gas. Instead of escaping into the air after the dish soap bubbles pop, the gas is trapped in the balloon.
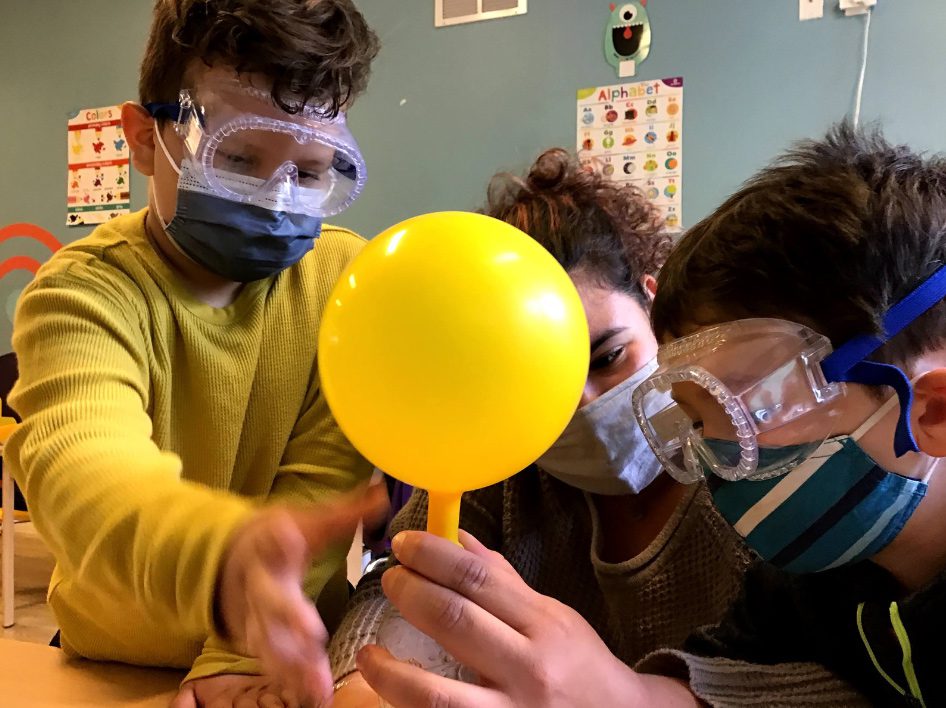
What You’ll Need:
- Balloon
- Small plastic bottle (travel-size is ideal; check that the mouth of the balloon fits snugly over the bottle’s opening)
- Antacid tablet
- Water
Experiment:
- To test and loosen up the balloon, blow it up, or depending on age, ask the child to blow it up slightly.
- Break up the antacid tablet, and check to make sure the pieces are small enough to fit inside the mouth of the bottle. Remove them, and place the pieces inside the balloon.
- Fill the bottle halfway with water.
- Place the balloon over the mouth of the bottle, and lift the balloon so that the tablet pieces fall into the bottle.
Discussion Questions:
- What happened? Describe the chemical reaction. When did the reaction occur? (If performing this experiment after the Fizzy Lemon activity, ask: How is this chemical reaction different from the Fizzy Lemon? How is it similar?)
- Were there any changes to the physical properties of the chemicals identified at the beginning of the experiment? What were they?
- Why do you think the balloon expanded?
- What do you think might happen if two tablets were used instead?
Citrus Candle (K–4)
This experiment uses simple combustion of a cooking oil and a wick created by the membrane of a citrus fruit to show a chemical reaction. Please use caution with the knife and with the lighter, perform the experiment on a plate or over a sink, and have a fire extinguisher handy in case of emergency. As a bonus, you can repeat the experiment with different types of cooking oil, and observe differences, if any, in the way the flame looks and behaves, and whether the oil smokes.
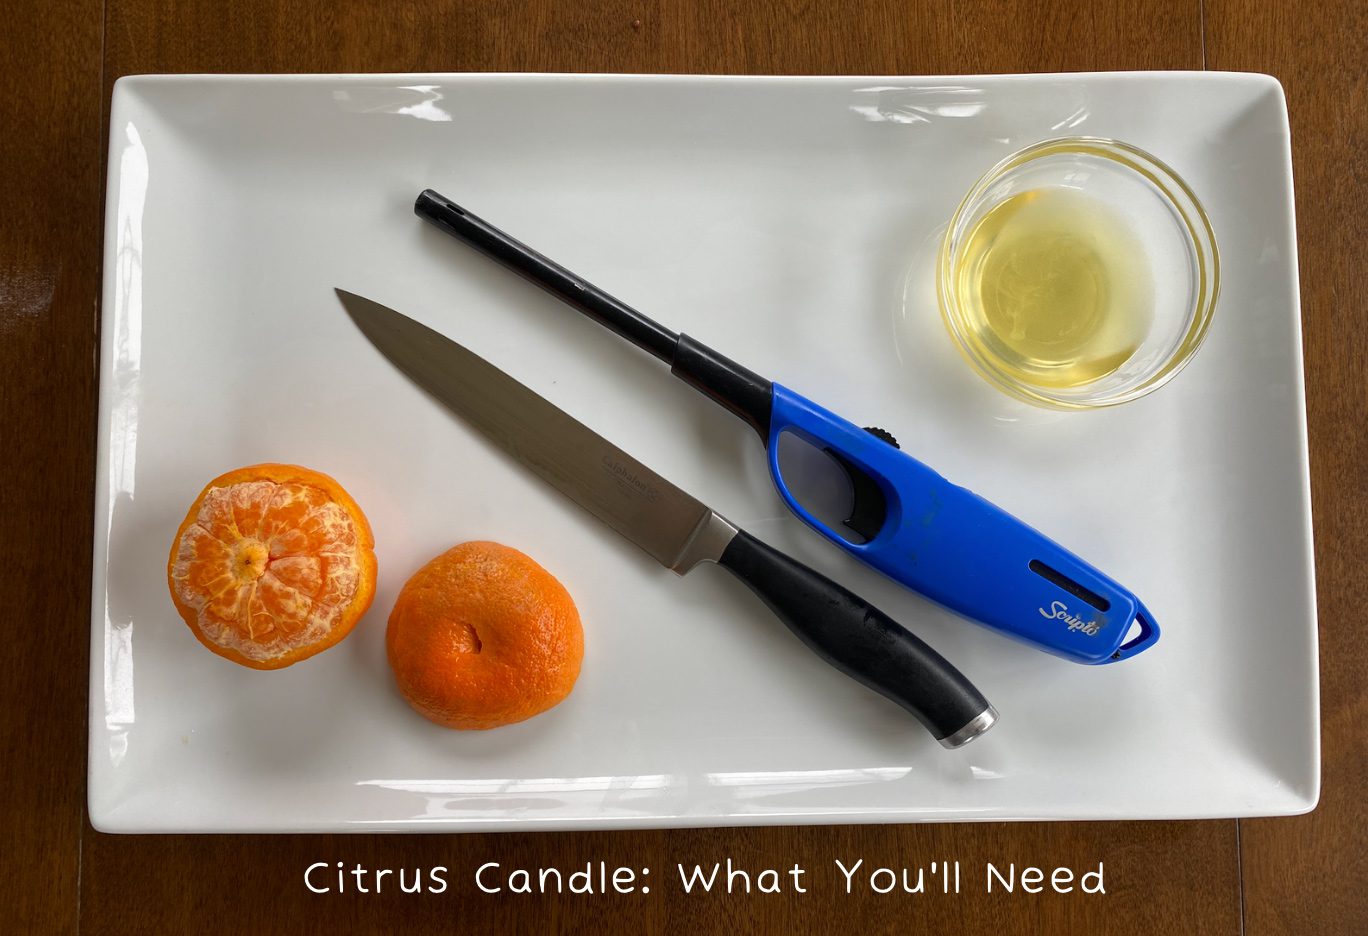
What You’ll Need:
- Citrus fruit (rounded fruits with a flattish side, such oranges, tangerines, and satsumas, work best to balance)
- Knife
- Cooking oil (olive is best, but canola or similar will work)
- Lighter
- Fire extinguisher
Experiment
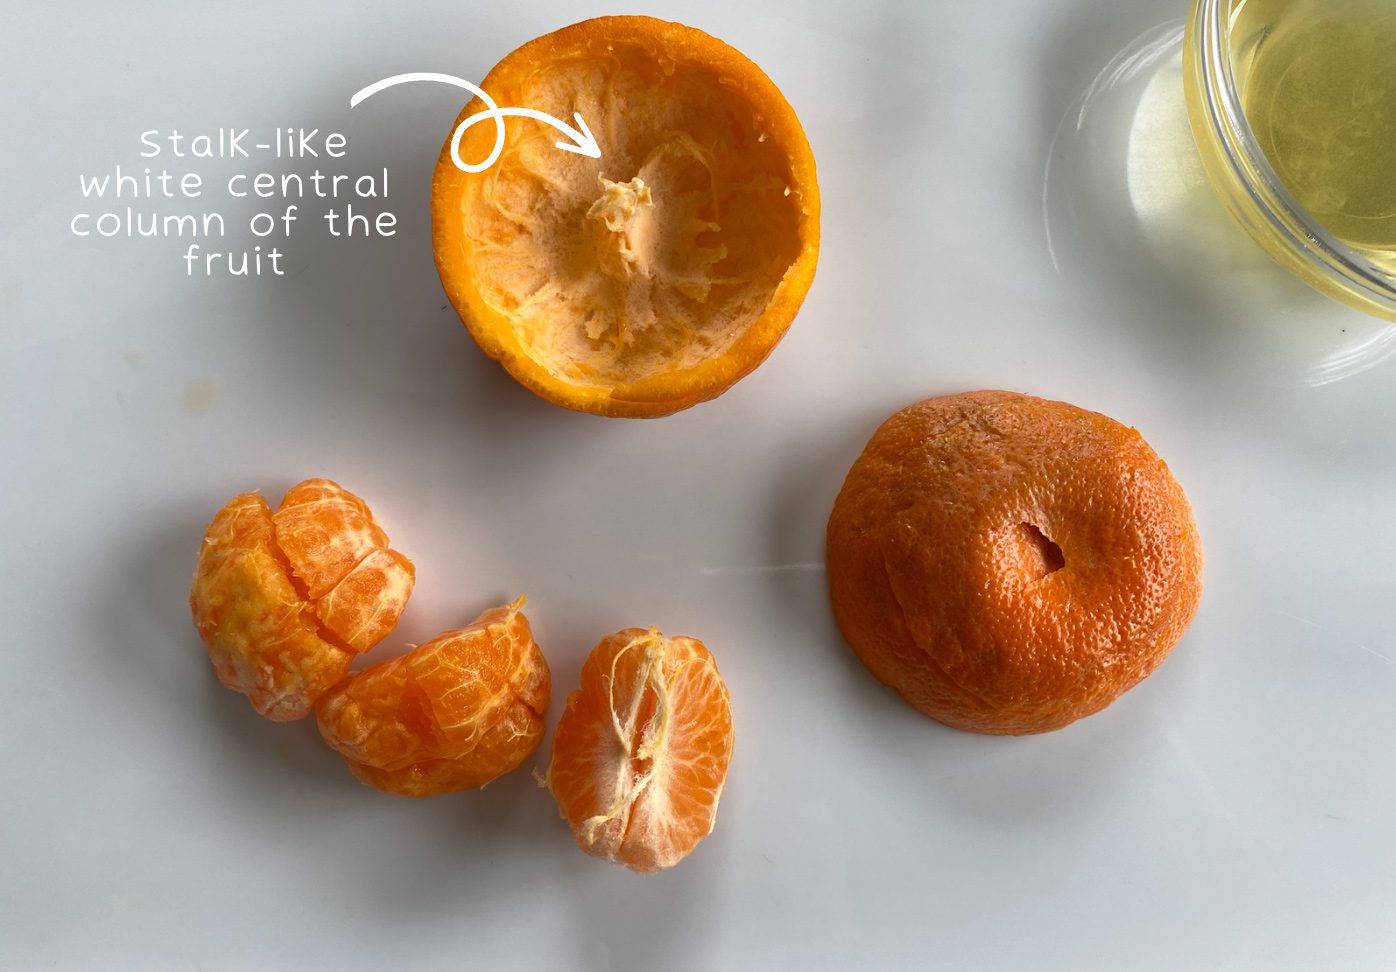
- Carefully cut an incision around the citrus fruit’s “equator,” cutting all the way through the skin but leaving the flesh mostly intact for easy removal. (You’ll need the stalk-like white central column of the fruit, which is attached to one side of the inside of the fruit, for the wick.) Gently remove the top half of the fruit skin with your fingers. (Reserve the fleshy part for a post-experiment snack!)
- Place the half of the fruit “shell” with the stalk on a plate, open side up.
- Pour a little oil into the shell.
- Ask kids to rub a little oil onto the stalk, making sure that the oil has coated it completely.
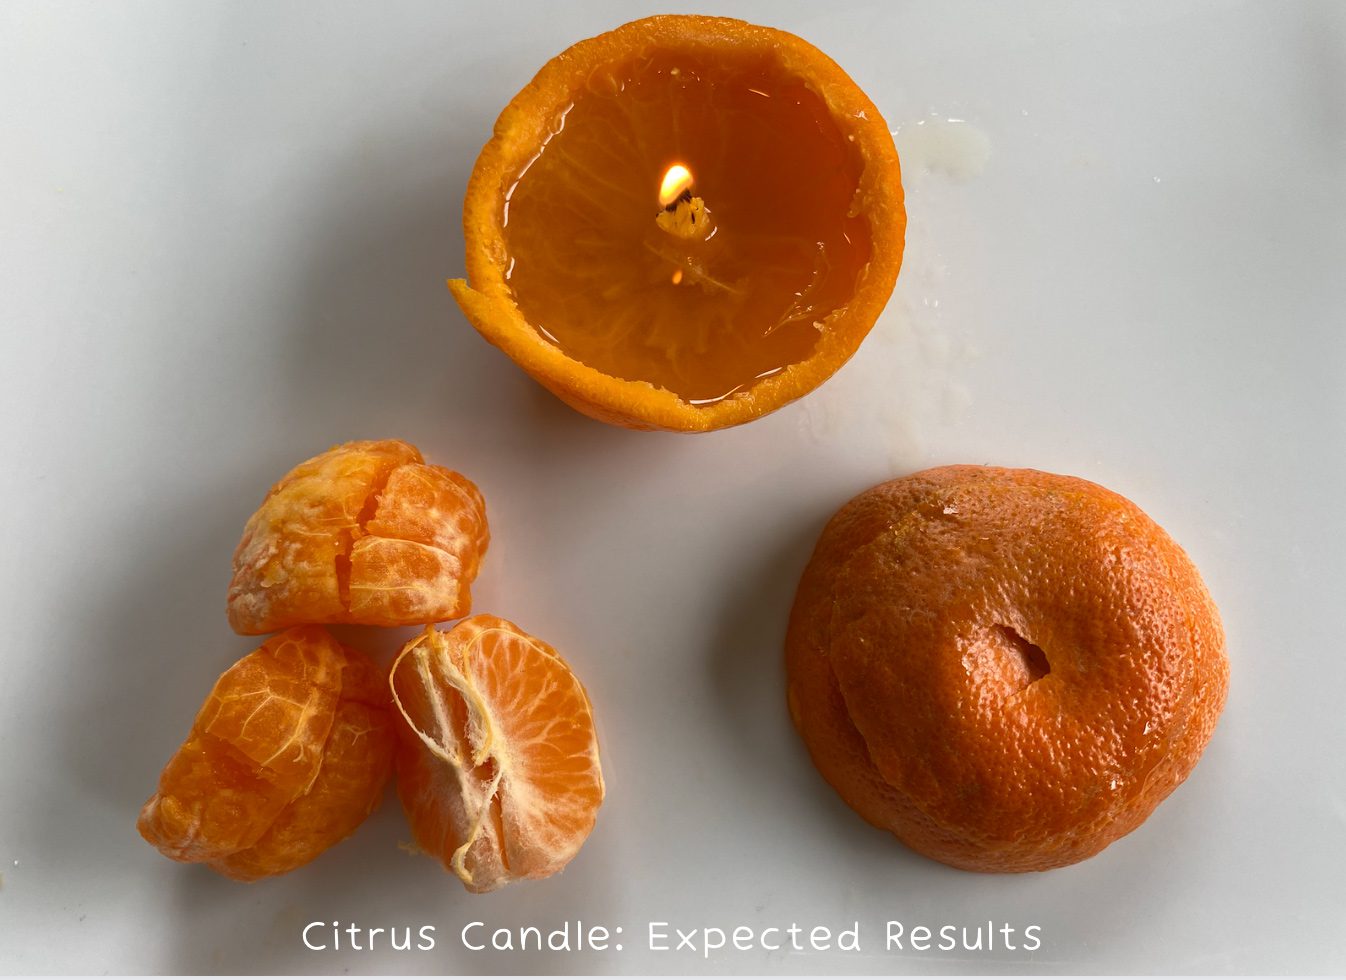
- Using a lighter, carefully light the top of the stalk only (do not light the pool of oil!) until the stalk/wick can maintain the flame on its own.
- As you observe the flame, ask the discussion questions.
Discussion Questions:
- What happened? Describe the chemical reaction. When did it occur?
- Were there any changes to the physical properties of the chemicals you identified at the beginning of the experiment?
- What surprised you about this experiment?
- What do you think might happen if twice as much oil were used? How about half as much?
For more creative STEM and STEAM activities that sprout kids’ curiosity and prepare them for the future, enroll your child in one of STEMful’s summer camps, school break camps, or afterschool programs.
- “What Is a Chemical?,” United States Nuclear Regulatory Commission, March 19, 2020, https://www.nrc.gov/reading-rm/basic-ref/students/science-101/what-is-a-chemical.html.
- Summer Stone, “Acidity in Cake,” June 27, 2017, The Cake Blog, https://thecakeblog.com/2017/06/acidity-in-cake.html.

